Tutorial: Create ExtCore-Based MVC Web Application
We are going to create modular and extendable ExtCore-based MVC web application. Please follow this tutorial to create simple ExtCore-based web application first. We will use it as a base.
So, we have the main web application and extension projects. They work but currently don’t
support MVC. We know that it is quite simple to add MVC support to ASP.NET Core web application
using the AddMvc and UseMvc extension methods. With the
ExtCore.Mvc extension
it is even a bit easier.
Modify Main Web Application
Open NuGet Package Manager and add dependency on the ExtCore.Mvc package.
Now open Startup.cs file and remove the applicationBuilder.Run method calling from the Configure
one, we don’t need it anymore.
Now your Startup class should look like this:
public class Startup
{
  private string extensionsPath;

  public Startup(IHostingEnvironment hostingEnvironment, IConfiguration configuration)
  {
    this.extensionsPath = hostingEnvironment.ContentRootPath + configuration["Extensions:Path"];
  }

  public void ConfigureServices(IServiceCollection services)
  {
    services.AddExtCore(this.extensionsPath);
  }

  public void Configure(IApplicationBuilder applicationBuilder)
  {
    applicationBuilder.UseExtCore();
  }
}
Good. Now let’s add some MVC-related things like controller and views. Also we will add CSS file too. It would be too obvious to add it to the main web application, so we will do that in the extension.
Modify Extension
First of all, replace dependency on ExtCore.Infrastructure with dependency on ExtCore.Mvc.Infrastructure (same version). The easiest way to do that is manually edit Extension.csproj file:
<ItemGroup>
  <PackageReference Include="ExtCore.Mvc.Infrastructure" Version="6.0.0" />
</ItemGroup>
Create Actions folder inside the project and create UseEndpointAction class inside it. Actions is ExtCore feature
that allows extensions to execute some code inside the ConfigureServices and Configure methods of the
web application. This class should look like this:
public class UseEndpointAciton : IUseEndpointsAction
{
  public int Priority => 1000;

  public void Execute(IEndpointRouteBuilder endpointRouteBuilder, IServiceProvider serviceProvider)
  {
    endpointRouteBuilder.MapControllerRoute(name: "Default", pattern: "{controller}/{action}", defaults: new { controller = "Default", action = "Index" });
  }
}
With this code our extension registers the default route for the web application which will use it. Each extension may register its own routes and make them have special order using the priorities.
Now we are ready to create controller and views.
Create DefaultController class and inherit it from Controller. Add simple Index action:
public class DefaultController : Controller
{
  public ActionResult Index()
  {
    return this.View();
  }
}
Create /Views/Shared/_Layout.cshtml and /Views/Default/Index.cshtml views.
_Layout.cshtml:
<!DOCTYPE html>
<html>
<head>
  <meta charset="utf-8" />
  <title>@Html.Raw(this.ViewBag.Title as string)</title>
</head>
<body>
  @RenderBody()
</body>
</html>
Index.cshtml:
<h1>Hello From the Extension</h1>
We need to tell the compiler to compile these views as resources to be able to use it later. Open the Extension.csproj file and add following lines there:
<ItemGroup>
  <EmbeddedResource Include="Views\**" />
</ItemGroup>
It is enough for now. Rebuild the solution and copy Extension.dll file to the extensions folder of the WebApplication. Run the web application:
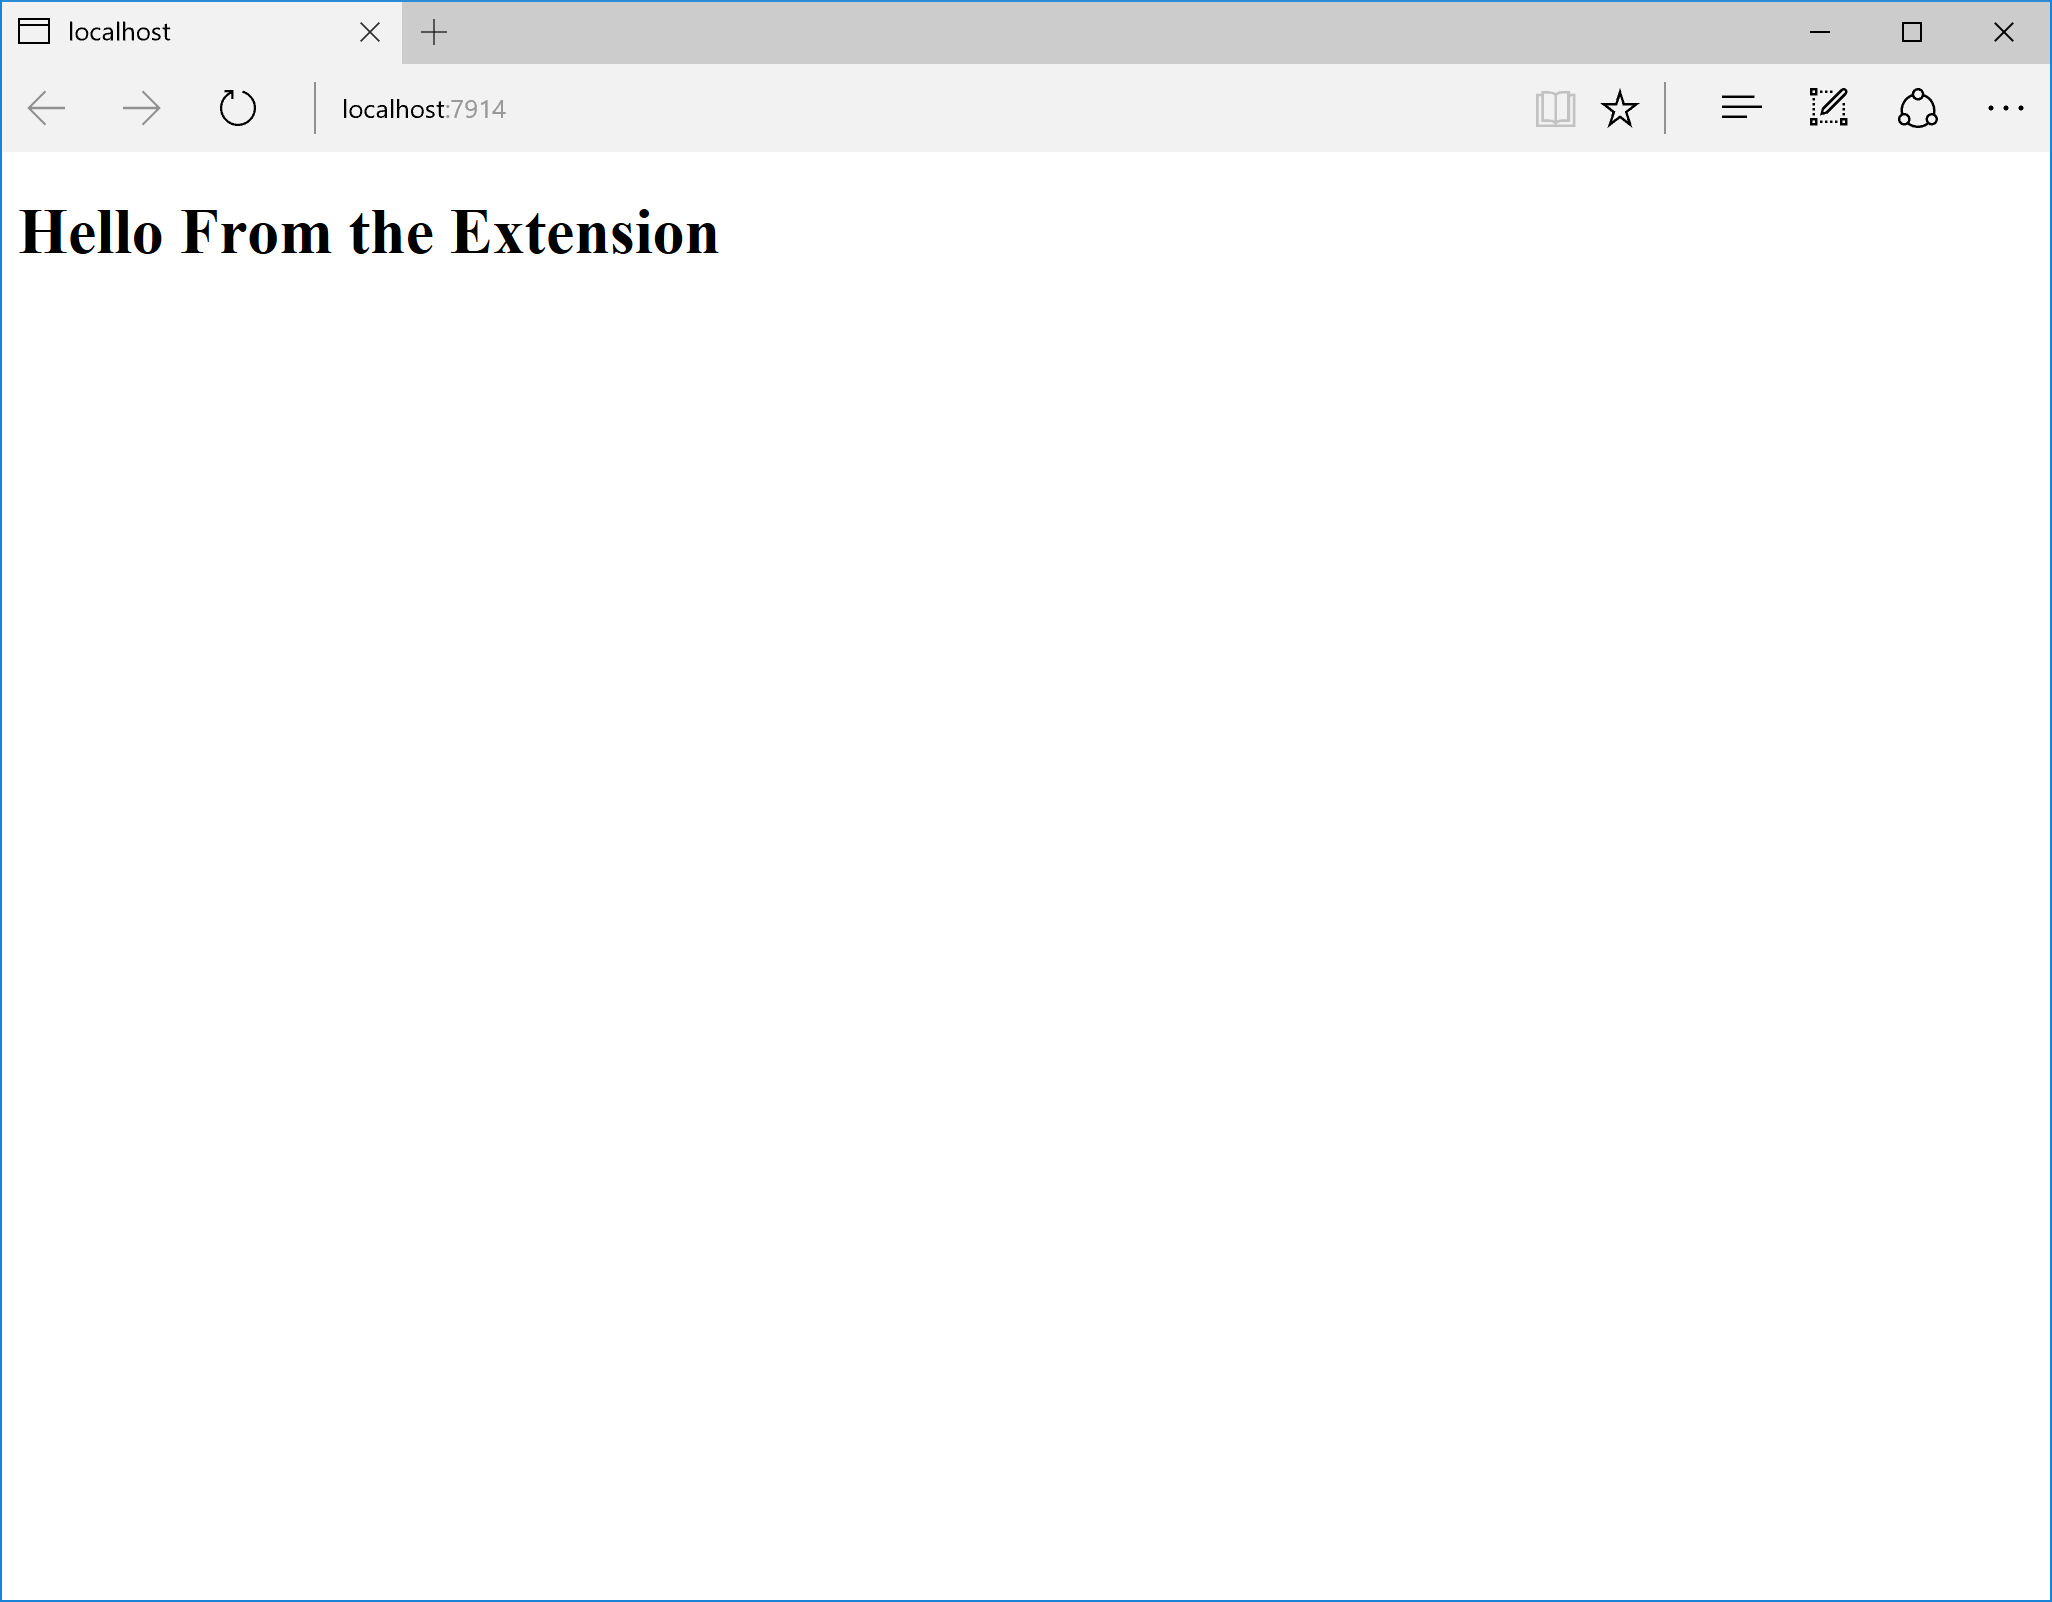
We can see that controller and views are resolved. Cool! Now let’s add some style to the our views. Create default.css file inside the /Styles folder (you need to create it too):
body {
  color: red;
}
Modify the Extension.csproj file again to tell the compiler to compile the styles too:
<ItemGroup>
  <EmbeddedResource Include="Styles\**;Views\**" />
</ItemGroup>
Finally, add the link to the CSS file to the Index.cshtml view:
<link href="Styles.default.css" rel="stylesheet" />
Note that resources have flat structure inside the assemblies so we need to replace / with .
(dot) in the path to the CSS file.
Rebuild the solution again and replace ExtCoreExtension.dll file, run the web application:

As we can see, the text turns red. It means that everything works as expected. In the next tutorials we will see how to work with the storage.
You can find the complete source of this sample project on GitHub: ExtCore framework 6.0.0 sample MVC web application.