Tutorial: Create Simple ExtCore-Based Web Application
We are going to create simple modular and extendable ExtCore-based web application. First of all, if you are new to ASP.NET Core please visit this page. You will find there everything you need to start developing ASP.NET Core web applications.
Create Main Web Application
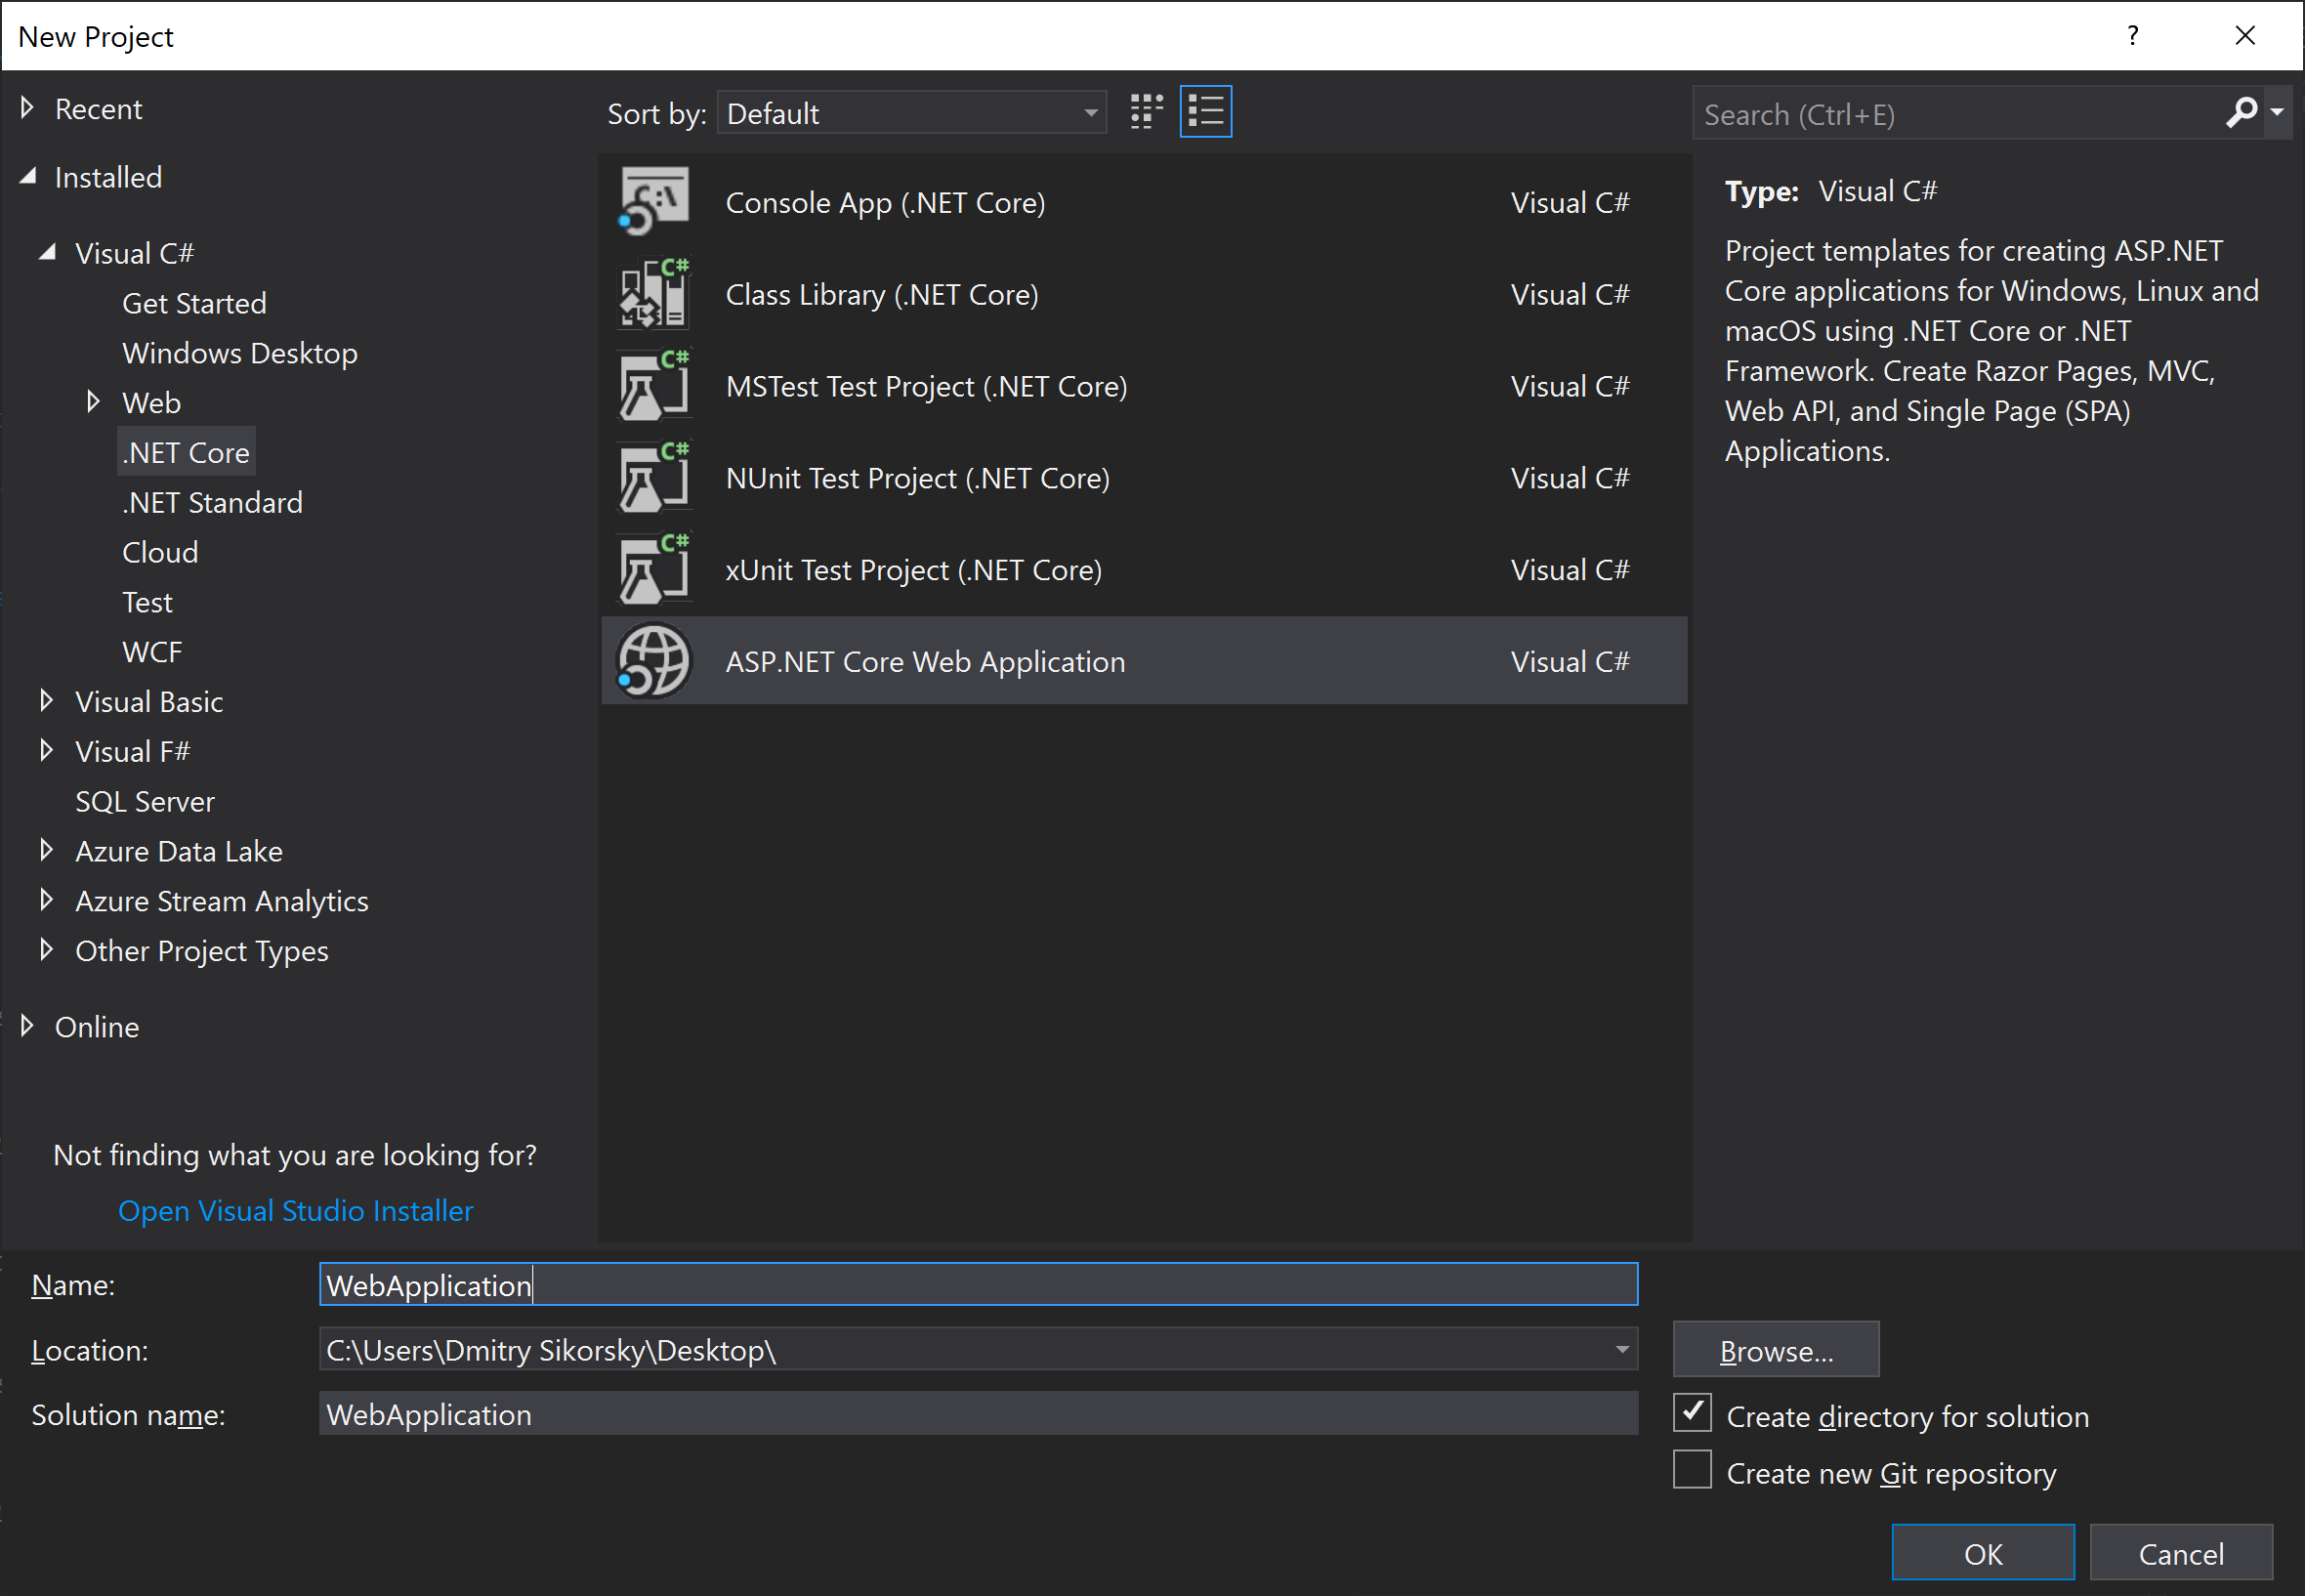
Now let’s start Visual Studio and create new ASP.NET Core project:
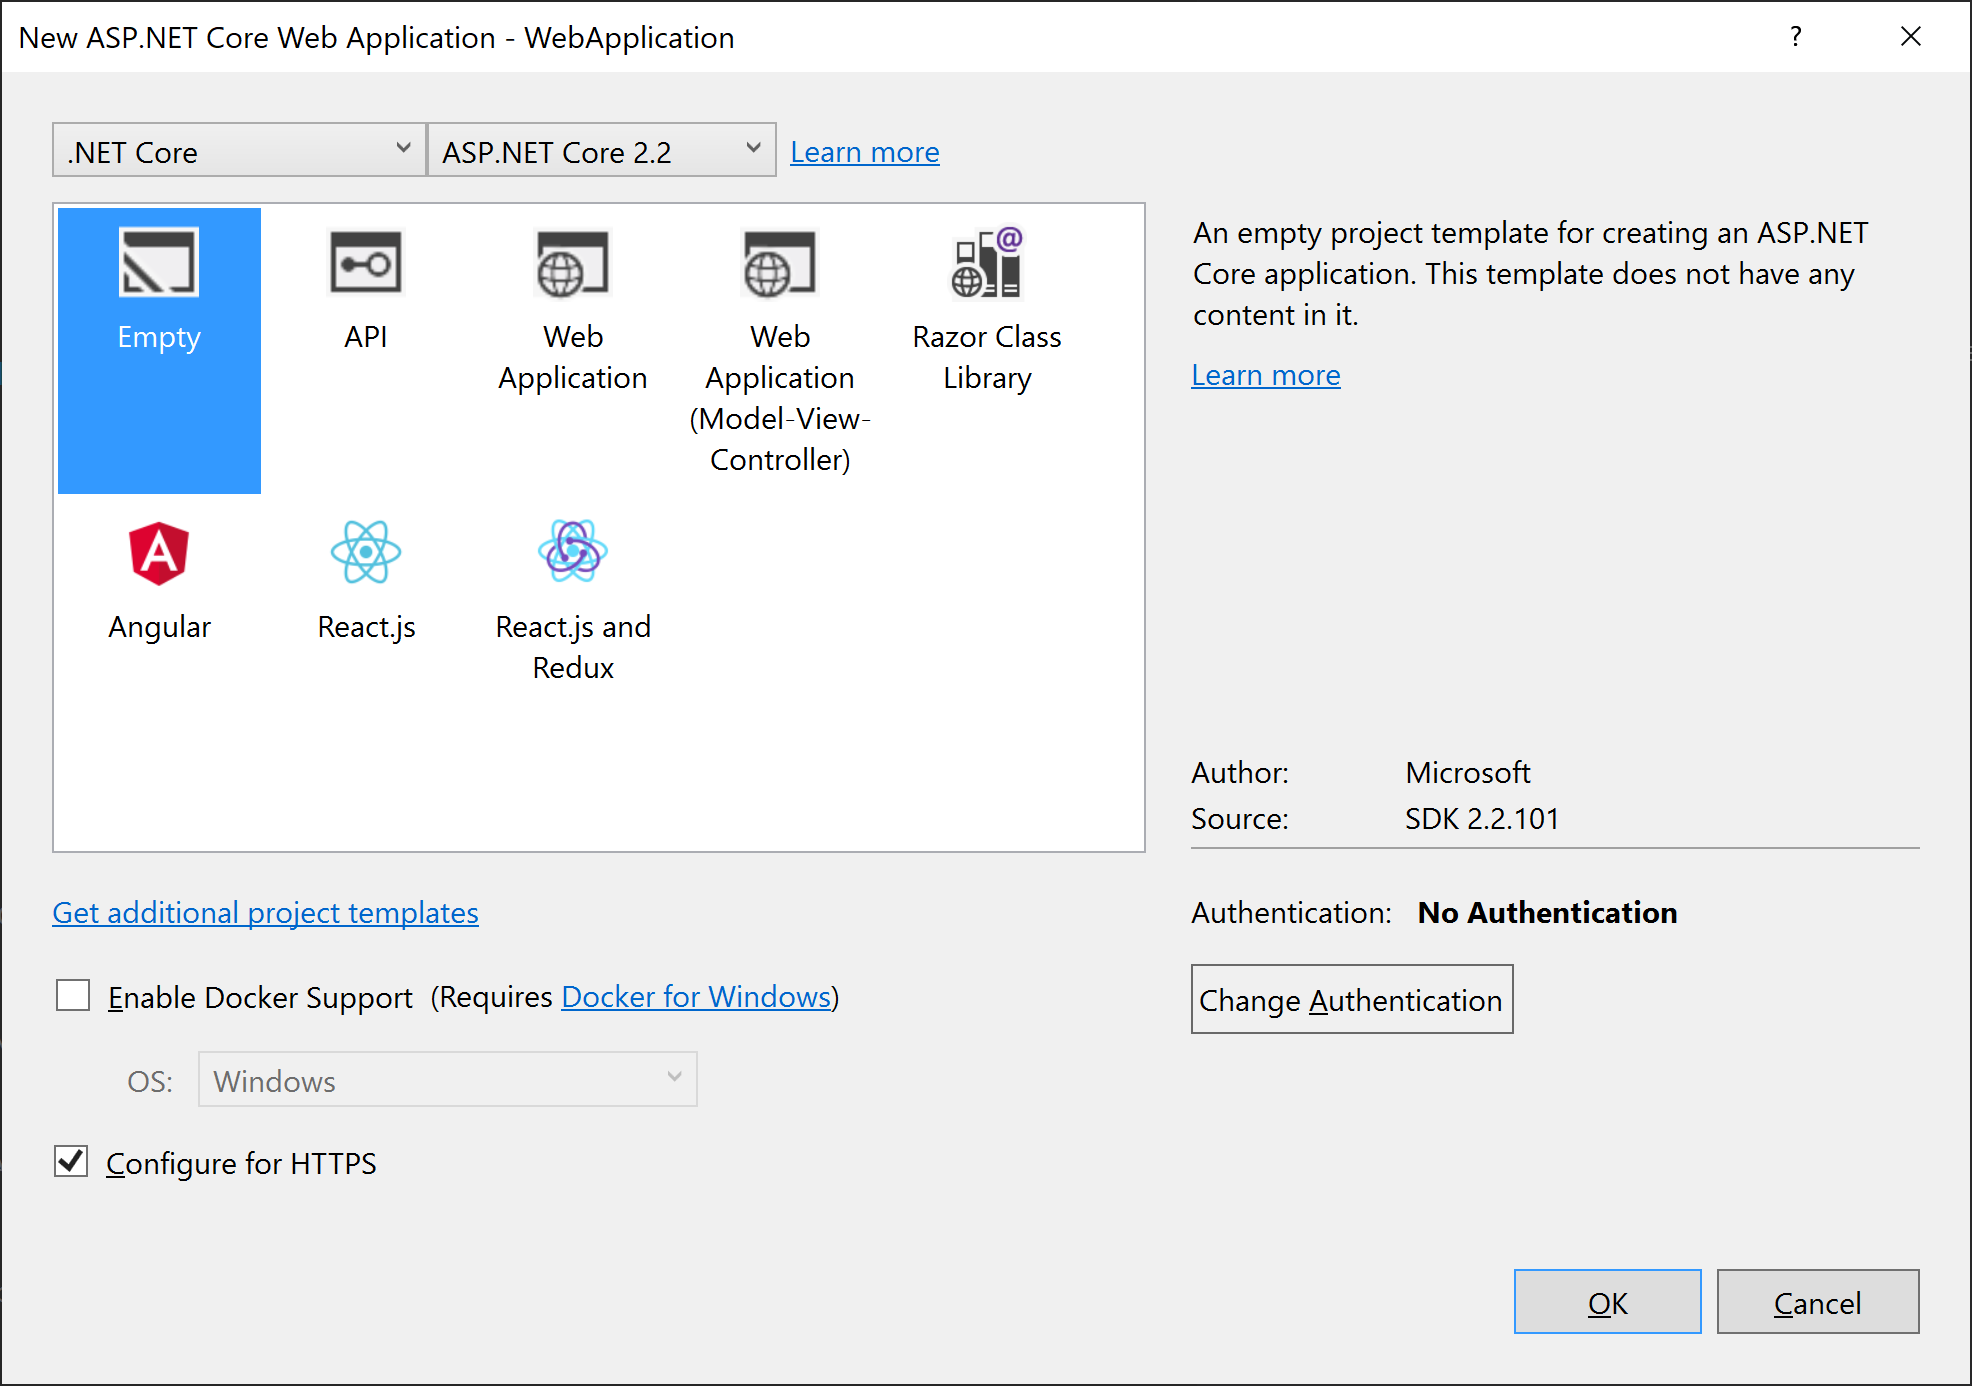
Empty project is created.
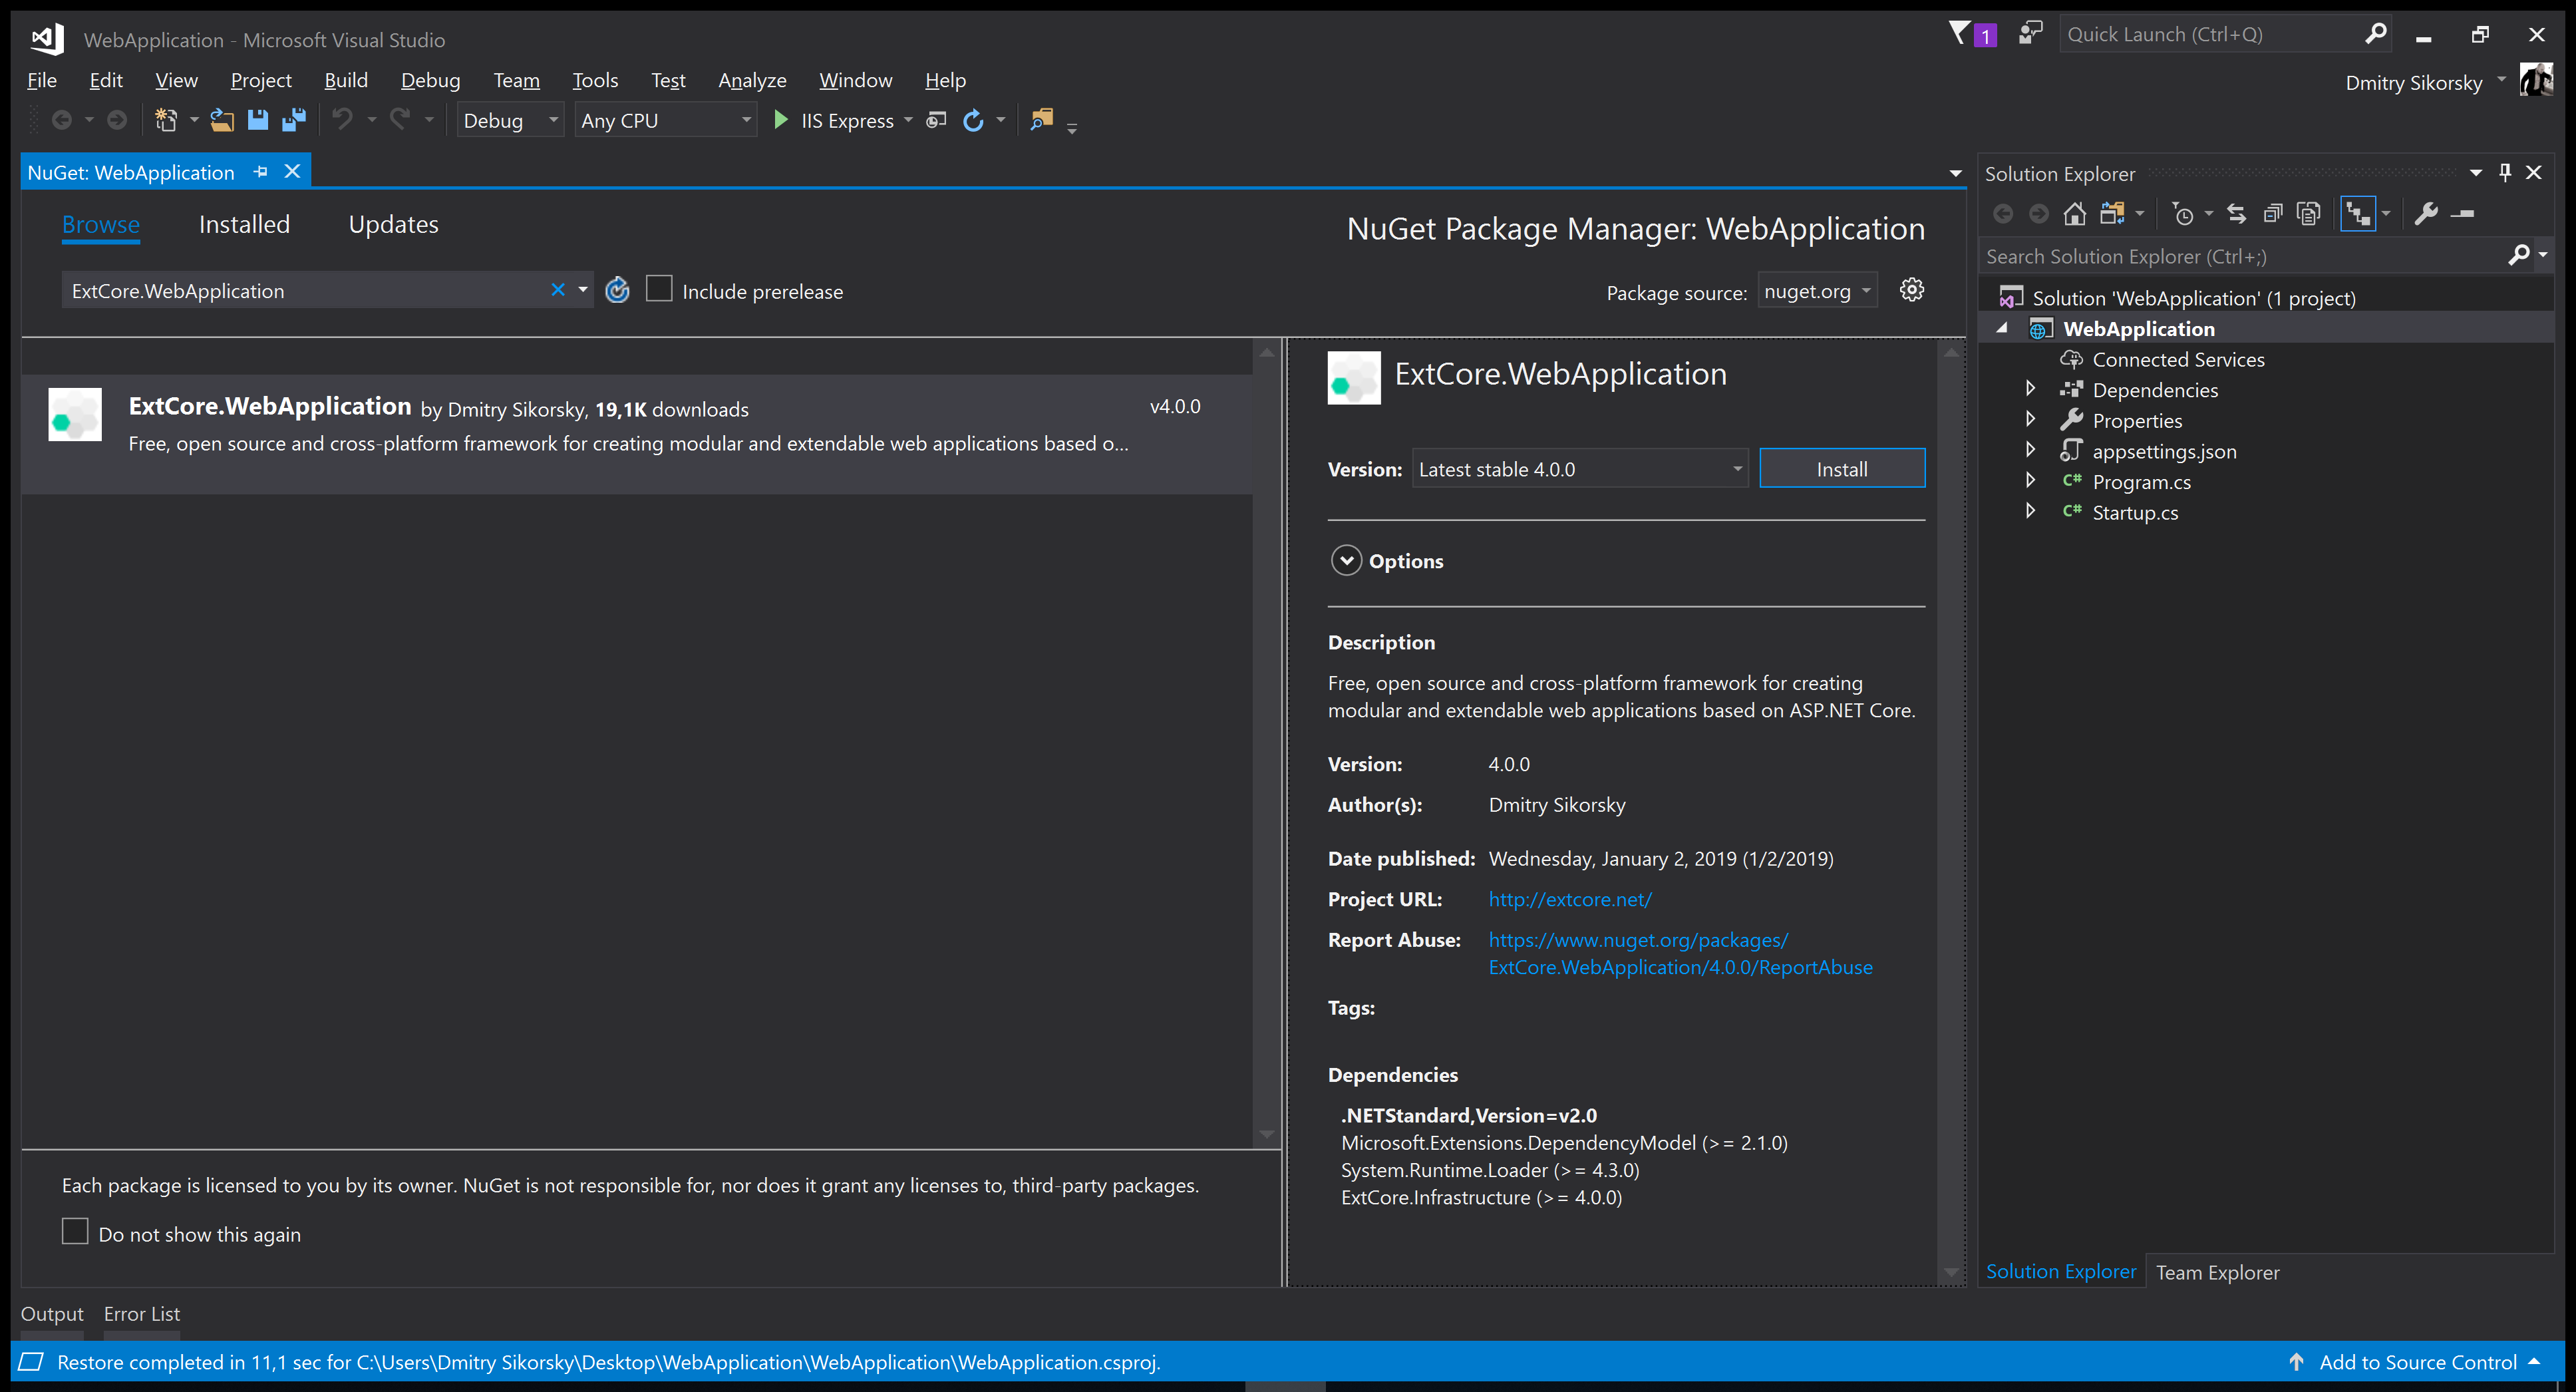
Right click on your project in the Solution Explorer and open NuGet Package Manager. Switch to Browse tab and type ExtCore.WebApplication in the Search field (be sure that Include prerelease checkbox is checked). Click Install button:
You can get the same result manually by opening the WebApplication.csproj file and adding next line into it:
<ItemGroup>
  <PackageReference Include="ExtCore.WebApplication" Version="6.0.0" />
</ItemGroup>
Create the appsettings.json file in the project root. We will use this file to provide configuration
parameters to ExtCore (such as path of the extensions folder). Now it should contain only one
parameter Extensions:Path and look like this:
{
  "Extensions": {
    // Please keep in mind that you have to change '\' to '/' on Linux-based systems
    "Path": "\\Extensions"
  }
}
Open Startup.cs file. Inside the ConfigureServices method call services.AddExtCore one. Pass the extensions
path as the parameter. Inside the Configure method call applicationBuilder.UseExtCore one with no parameters.
Now your Startup class should look like this:
public class Startup
{
  private string extensionsPath;

  public Startup(IHostingEnvironment hostingEnvironment, IConfiguration configuration)
  {
    this.extensionsPath = hostingEnvironment.ContentRootPath + configuration["Extensions:Path"];
  }

  public void ConfigureServices(IServiceCollection services)
  {
    services.AddExtCore(this.extensionsPath);
  }

  public void Configure(IApplicationBuilder applicationBuilder)
  {
    applicationBuilder.UseExtCore();
    applicationBuilder.Run(async (context) =>
    {
      await context.Response.WriteAsync("Hello World!");
    });
  }
}
That’s all, you now have ExtCore-based web application.
Now we need to create some extension project to show how ExtCore types discovering works.
Create Extension
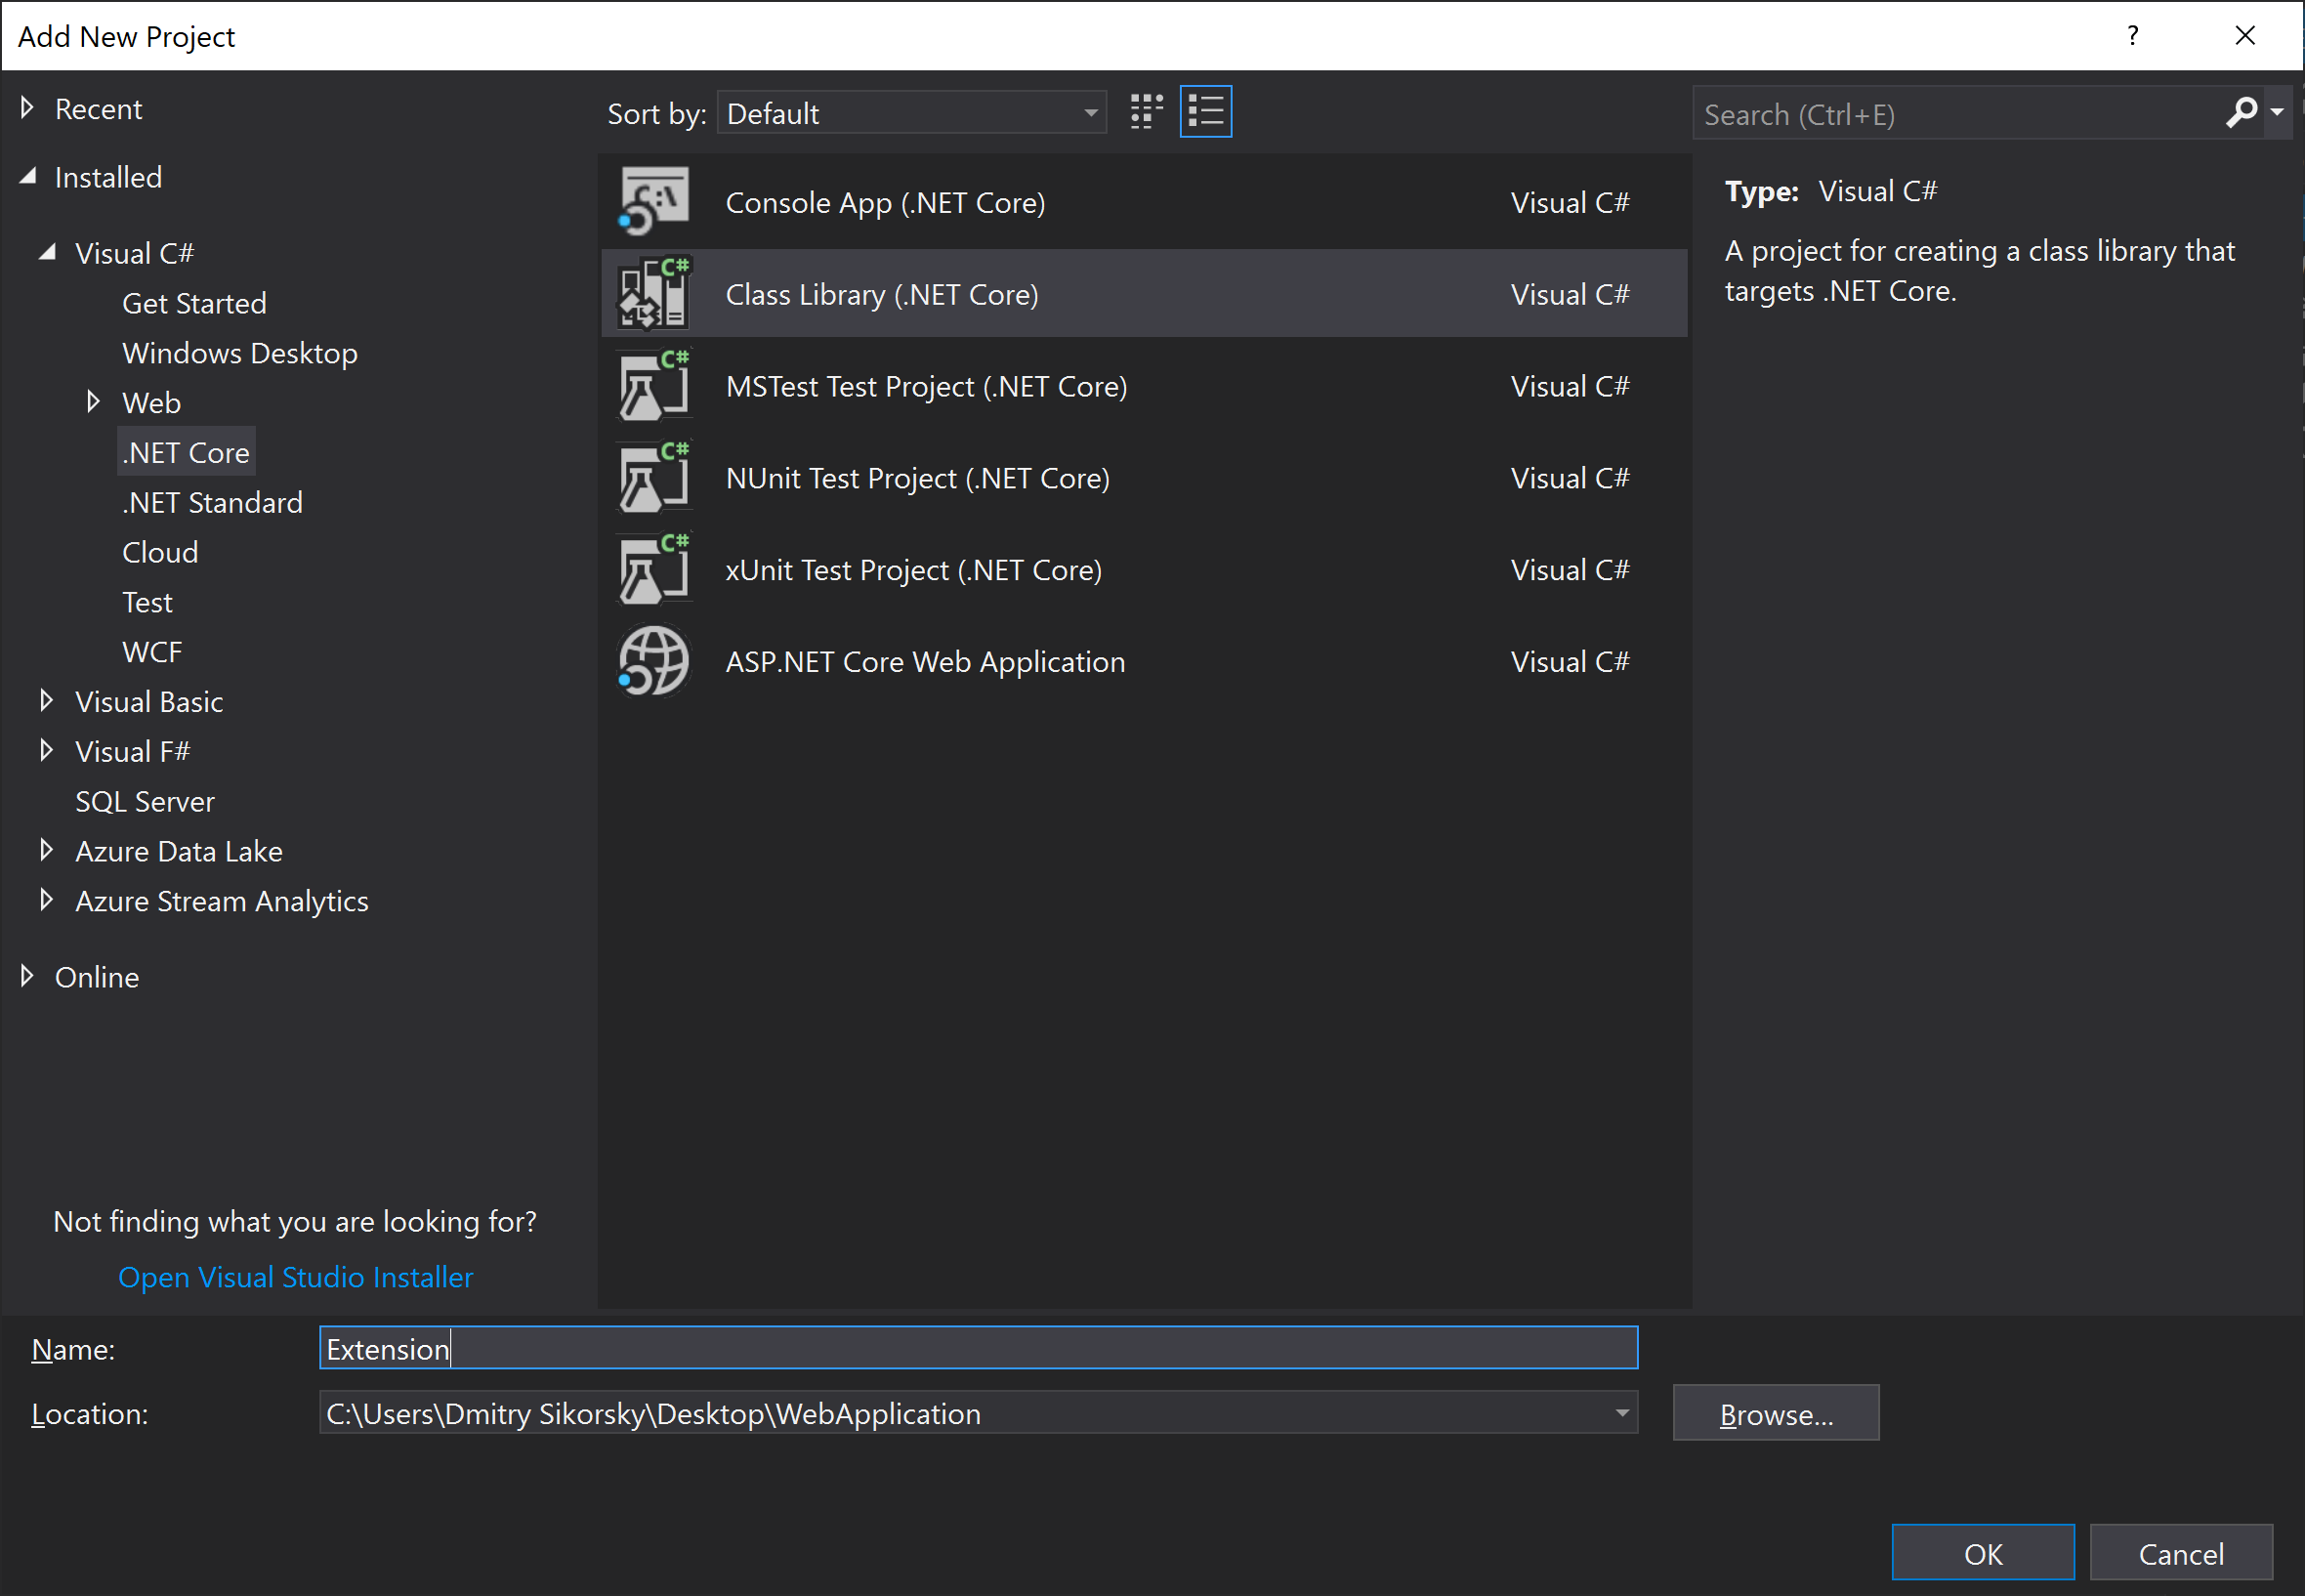
Create new .NET Core class library project:
Open NuGet Package Manager and add dependency on the ExtCore.Infrastructure package.
Create Extension class and inherit it from ExtCore.Infrastructure.ExtensionBase. Override
Name property in this way:
public override string Name
{
  get
  {
    return "Some name";
  }
}
It is enough for now.
Put it Together
We have two options to make our extension available in main web application:
- add direct dependency on Extension in the WebApplication;
- put compiled Extension.dll file to extensions folder of the WebApplication that is configured in appsettings.json file.
While the first option is too obvious let’s try the second one. Copy the Extension.dll file
to the extensions folder of the WebApplication and modify Configure method of Startup class
in next way:
public void Configure(IApplicationBuilder applicationBuilder)
{
  applicationBuilder.UseExtCore();
  applicationBuilder.Run(async (context) =>
  {
    await context.Response.WriteAsync(ExtensionManager.GetInstance<IExtension>().Name);
  });
}
It will search for the implementation of the IExtension interface, create instance of found type,
and write its Name property value on every request.
If we run our web application we will have the following result:
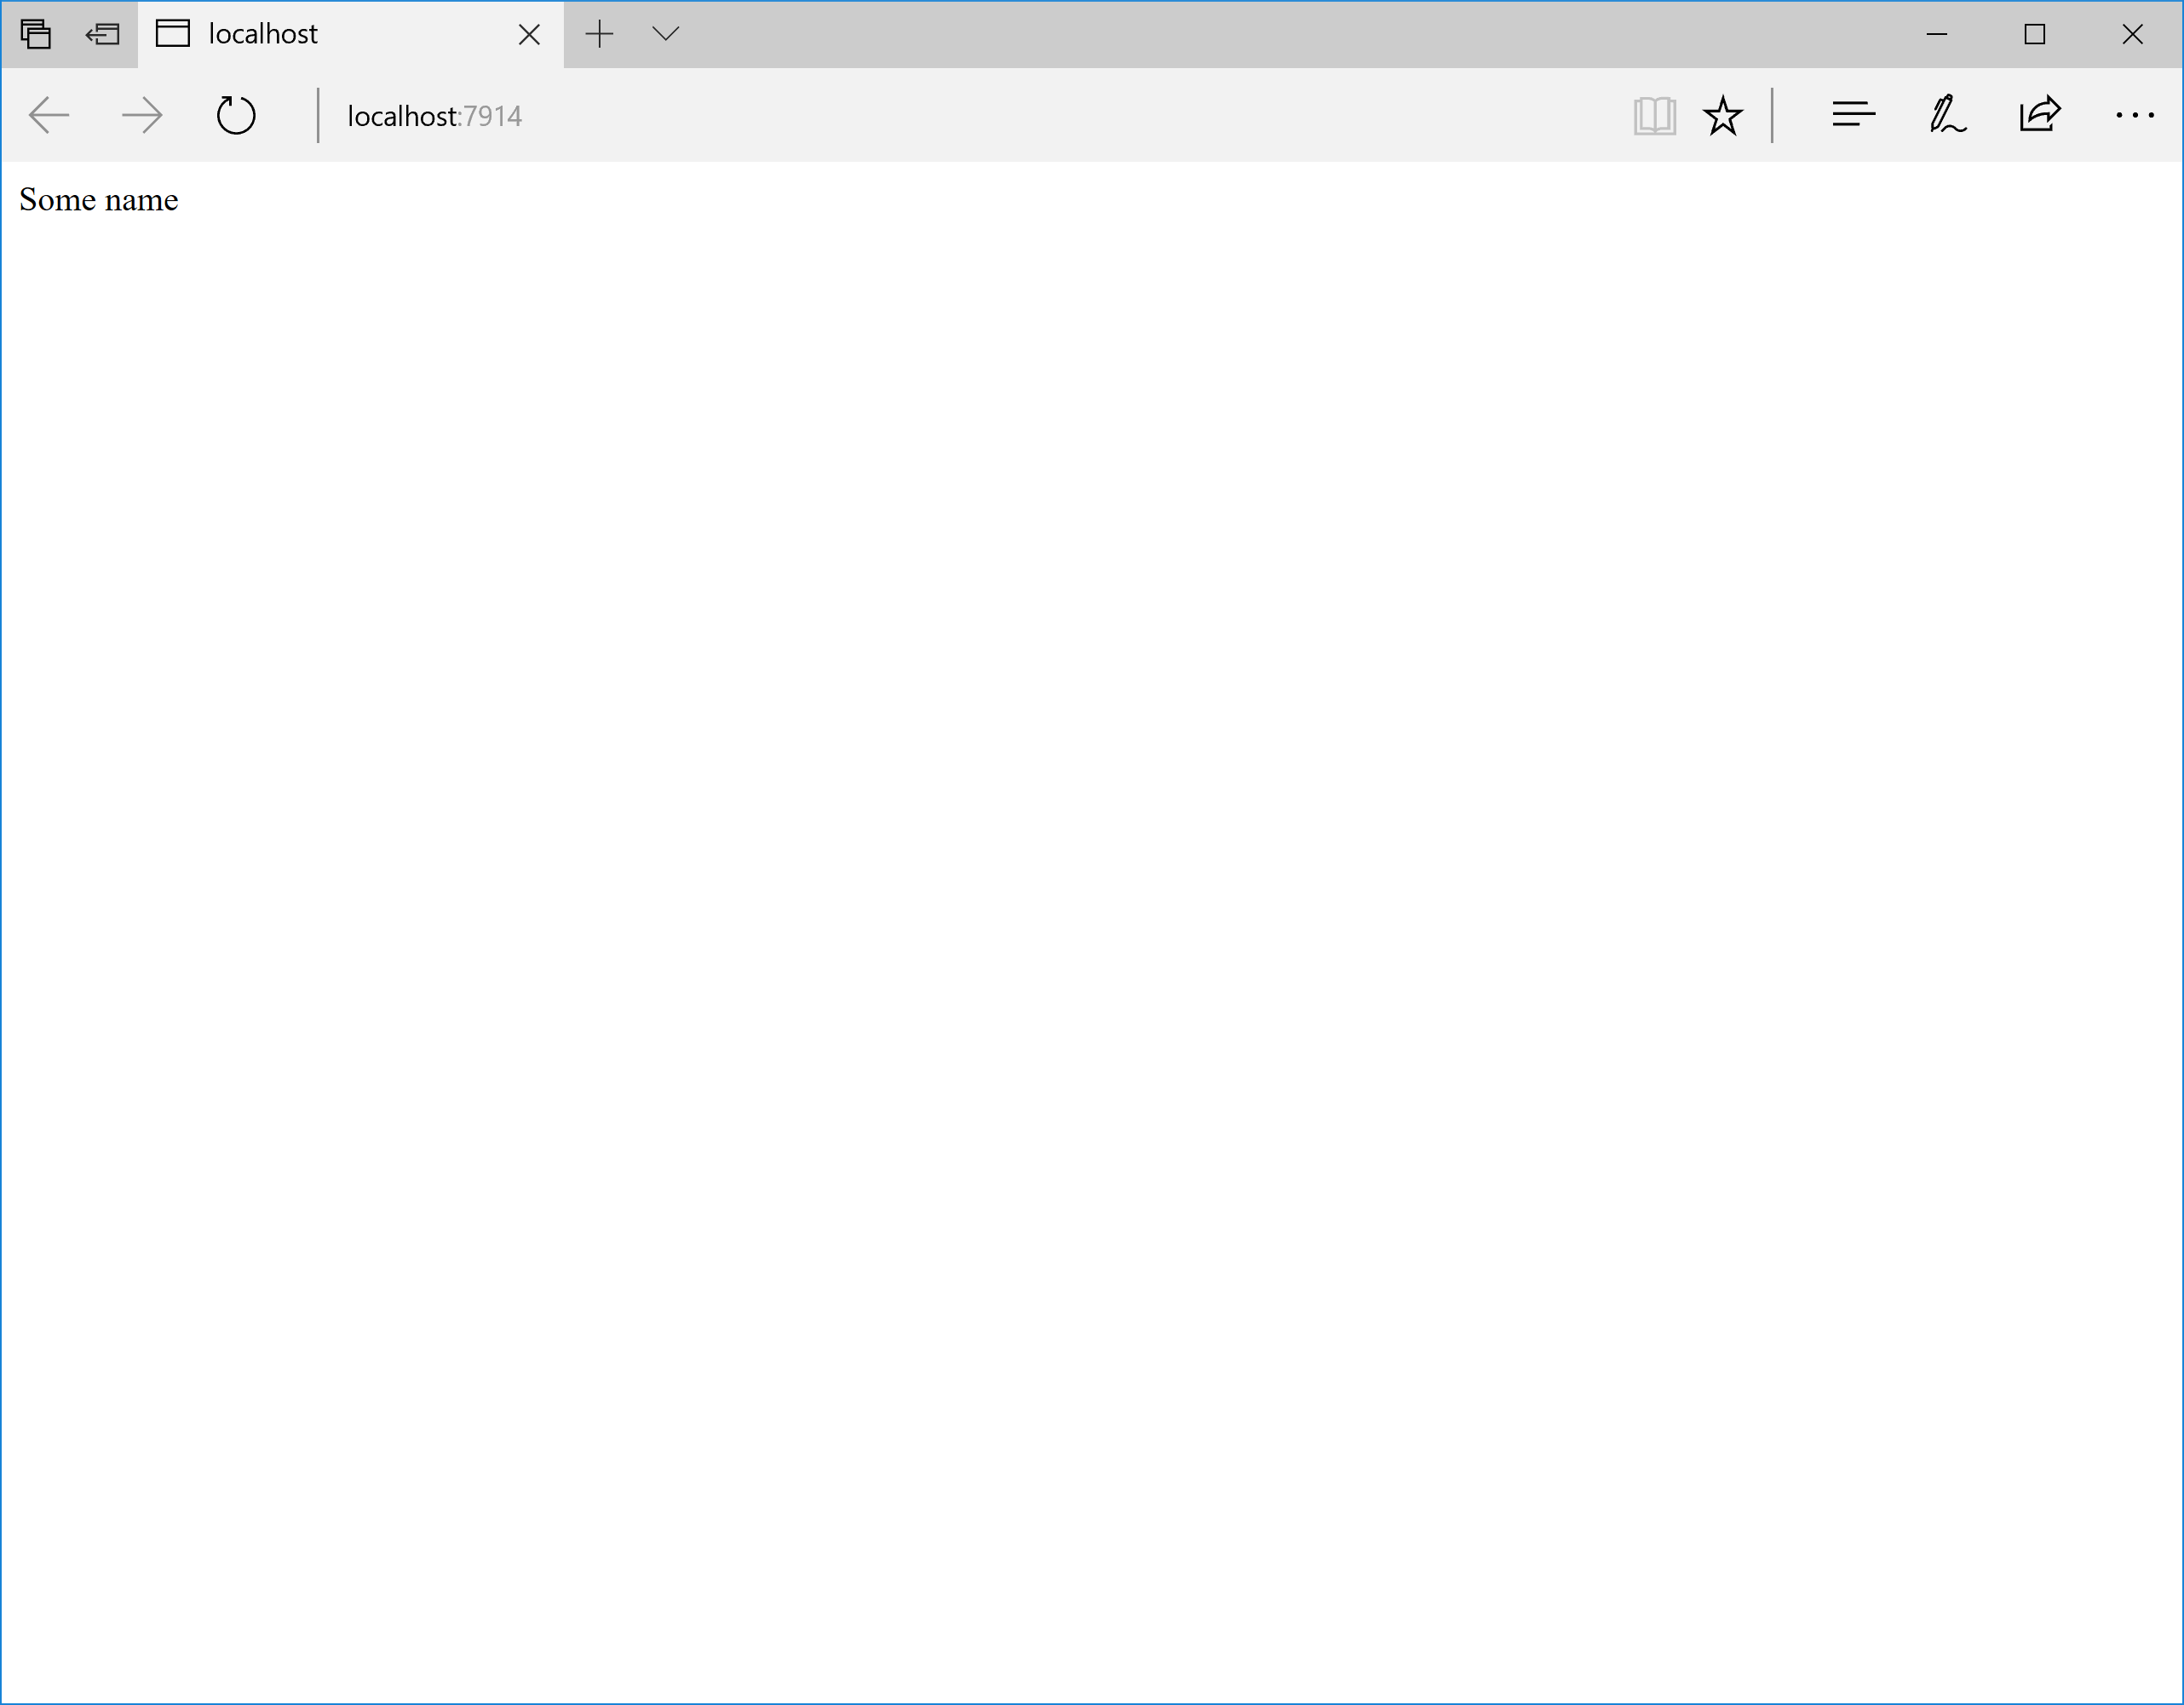
It may not look very impressive, but it’s only the beginning! In the next tutorials we will see
how extensions may execute their own code insite the ConfigureServices and Configure methods, how
to use MVC and how to work with a storage.
You can find the complete source of this sample project on GitHub: ExtCore framework 6.0.0 sample simplest web application.